Why Proper Gas Line Capping is Essential for Home Safety
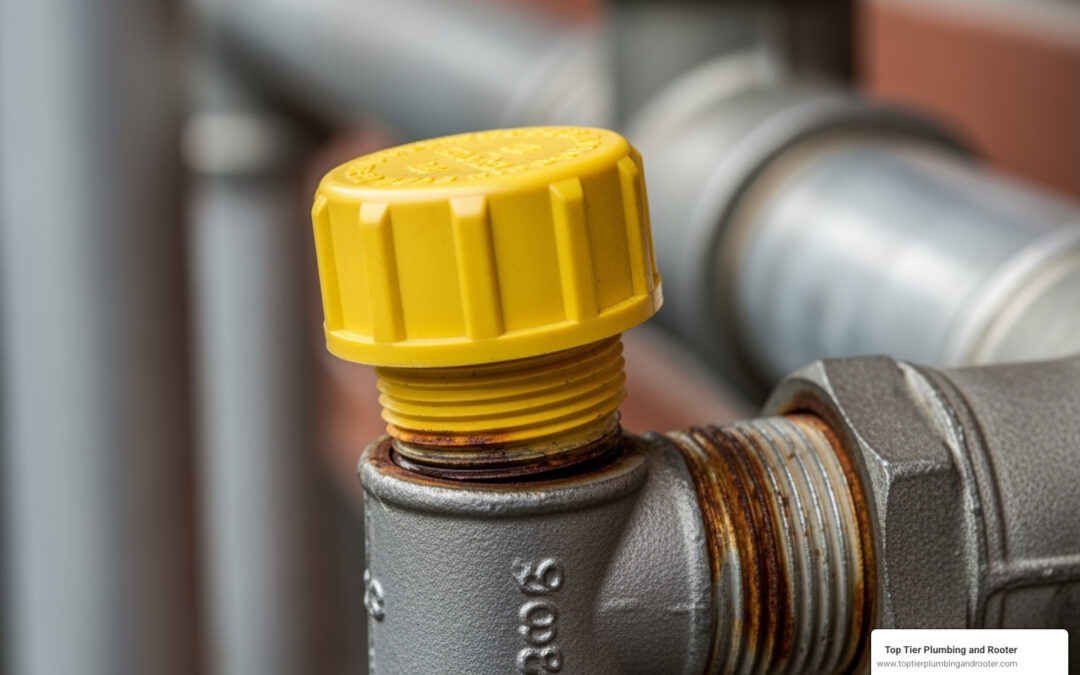
A gas line cap is a threaded fitting that permanently seals an unused gas line, preventing dangerous gas leaks. These critical components are essential when removing gas appliances, during renovations, or when permanently disconnecting gas service to parts of your home.
Common situations requiring gas line caps:
- Removing old gas appliances (stoves, dryers, water heaters)
- Home renovations where gas lines are relocated
- Converting from gas to electric appliances
- Sealing abandoned gas stub-outs
- Preventing debris from entering gas lines during construction
A gas line cap provides a permanent seal that prevents both gas leaks and contamination. Unlike simply closing a shut-off valve, a properly installed cap is a reliable, long-term solution that won’t accidentally open or fail.
The most common signs of a gas leak include:
- A strong sulfuric or “rotten egg” smell
- Hissing sounds near gas lines or appliances
- Dead or dying vegetation near underground gas lines
- Physical symptoms like headaches, dizziness, or nausea
While capping a gas line might seem straightforward, improper installation can create serious safety hazards. Understanding the correct materials, sizing, and installation techniques is crucial for protecting your family and property.

Understanding Gas Line Caps and Plugs
When dealing with unused gas lines, gas line caps and plugs are essential for safety. They prevent dangerous gas leaks and keep debris out of your gas system. A gas line cap has female threads and fits over a male-threaded pipe. A gas plug has male threads and screws into a female-threaded opening. Both seal your gas system, but you need to choose the right one for the job.

Common Materials Used for Caps
Choosing the right material for your gas line cap is vital for long-term safety. Gas systems are under pressure and exposed to environmental factors, so material choice matters.
- Brass: A top choice for its excellent corrosion resistance and strength, often used for flare and compression fittings.
- Cast Iron: Incredibly robust and reliable, ideal for traditional, high-pressure applications.
- Malleable Iron: Offers the strength of cast iron but with more flexibility, making it resistant to cracking under stress.
- Steel: Zinc-plated steel caps are strong and cost-effective, with the coating providing corrosion resistance.
Your choice will depend on your specific situation, local codes, and the existing materials in your gas system.
Types of Fittings: Cap vs. Plug
Understanding the different fitting types ensures a proper seal on the first try.
- Threaded caps (NPT): The most common type for rigid pipes. Their tapered threads create a tight mechanical seal when used with pipe sealant.
- Flare caps: Used with flexible tubing, creating a metal-to-metal seal without any sealant. They are common for appliance connections.
- Compression caps: Use a nut and ferrule to grip and seal tubing, useful for flexible lines where adjustments might be needed.
- Quick-connect caps: Designed for temporary sealing of systems like those on gas grills or portable heaters.
- Gas plugs: Have male threads and screw into female openings, such as unused ports on a valve or tee fitting.
Finding the Right Size Gas Line Cap
Correct sizing is critical for a safe, leak-proof seal. A poorly fitting gas line cap is a serious hazard.
For rigid gas pipes (black iron or galvanized steel), you’ll use Nominal Pipe Size (NPS). This is an industry standard, not the actual diameter. The most common residential sizes are 1/2 inch, 3/4 inch, and 1 inch.
Flare fittings are measured by the Outer Diameter (OD) of the tubing. Common sizes include 1/4″, 3/8″, and 1/2″ tube OD.
Use calipers for precise measurements. If you’re uncertain about sizing or installation, professional plumbers have the experience and tools to ensure a perfect fit.
How to Choose the Correct Gas Line Cap
Choosing the right gas line cap requires matching it precisely to your existing gas line to prevent safety hazards. Understanding the connection style is the first step.

| Cap Type | Connection Style | Sealing Method | Common Application |
|---|---|---|---|
| Threaded | NPT (National Pipe Taper) | Tapered threads with pipe sealant | Rigid black iron or galvanized steel pipes |
| Flare | SAE 45-degree flare | Metal-to-metal compression (no sealant needed) | Flexible copper or brass tubing, appliance hookups |
| Compression | Compression nut & ferrule | Ferrule compresses around tubing | Flexible tubing, sometimes smaller gas lines |
Identifying Your Gas Line Fitting
Before buying a gas line cap, you must identify your fitting type.
National Pipe Thread (NPT) fittings are found on rigid black iron or galvanized steel pipes. They have sharp, tapered threads that create a mechanical seal. If your pipe has external (male) threads, you need a cap with internal (female) threads.
SAE 45-degree flare fittings are used with flexible copper or brass tubing. The end of the tube is flared into a cone shape that creates a metal-to-metal seal with the matching fitting. No sealant is used.
Examine the end of your gas line. External spiral threads indicate an NPT connection, while a smooth, cone-shaped end indicates a flare fitting. This visual check is key to selecting the right cap.
Ensuring a Proper and Safe Seal
Creating a proper seal is the most critical part of the job. Different fittings have different sealing requirements.
For NPT threaded connections, you must use an approved pipe-thread sealant. Yellow PTFE tape (for gas) or pipe dope (jointing paste) are the correct choices. Apply sealant to the male threads, wrapping tape clockwise 2-3 times or applying a thin layer of dope.
Crucially, do not use sealant on flare fittings. They are precision-engineered for a metal-to-metal seal. Adding tape or dope will interfere with the connection and can cause leaks. For flare connections, simply ensure both surfaces are clean and dry before tightening.
Getting the seal wrong is a common DIY mistake with serious consequences. For more on avoiding these pitfalls, see our guide on The Hidden Dangers of DIY Plumbing: Common Mistakes and How to Avoid Them. When in doubt, call a professional.
A Step-by-Step Guide to Capping a Gas Line
Working with gas lines demands full attention to safety. While capping a line may seem simple, mistakes can be hazardous. If you feel uncertain at any point, call a professional.

Before you start, gather your tools: the correct gas line cap, two pipe wrenches, pipe-thread sealant (for NPT fittings), and a leak detection solution (soapy water). Ensure good ventilation. The two most important rules are to shut off the gas supply before you start and to test for leaks when you finish. For guidance on when to call a pro, see our article on DIY vs. Professional Plumbing: When to Call in the Experts.
Step 1: Shut Off the Gas and Prepare Your Workspace
This step is critical for your safety. Locate and turn off the main gas shut-off valve (usually near the meter) so the handle is perpendicular to the pipe. Also, close any appliance-specific shut-off valve for the line you are working on. Ventilate the area by opening windows and doors. Remove all ignition sources, including open flames, and avoid creating sparks. Double-check that the gas is off by trying to light an appliance on that line; if it doesn’t light, you can proceed.
Step 2: Remove the Old Fitting or Appliance
With the gas off, you can remove the old connection. Use two pipe wrenches: one to hold the pipe steady and prevent it from twisting, and the other to turn the fitting counter-clockwise to loosen it. Apply steady pressure. Once the fitting is removed, use a wire brush to clean any old sealant or debris from the pipe threads to ensure a clean surface for the new cap.
Step 3: Install the New Gas Line Cap
For NPT fittings, apply an approved pipe-thread sealant to the male threads of the pipe. Wrap yellow PTFE tape 2-3 times clockwise, or apply a moderate layer of pipe dope. For flare fittings, do not use any sealant.
Hand-tighten the gas line cap first. It should turn smoothly. If you feel resistance, you may be cross-threading it; back it off and try again. Once hand-tight, use a pipe wrench to give it a final quarter to half turn. Do not over-tighten, as this can strip threads or crack the fitting, causing a leak.
Step 4: Test for Leaks
This is the most important step. Slowly turn the gas supply back on. Spray the new gas line cap connection thoroughly with a soapy water solution. Watch closely for several minutes. Any bubbles, no matter how small, indicate a gas leak.
If you see bubbles, shut off the gas immediately. You may need to tighten the cap slightly or reapply sealant (for NPT). Test again. Do not consider the job finished until the test shows no bubbles. If you can’t stop a leak, call a professional immediately. For more information, read What to Do When You Smell Gas: A Homeowner’s Guide to Safety.
Critical Safety and When to Call a Professional
Gas line work is not like a typical plumbing repair. Mistakes can have severe consequences, which is why recognize the warning signs of a problem and know when to call for help.
If you suspect a gas leak (hissing sounds, a “rotten egg” smell, unexplained headaches or nausea), evacuate everyone from the building immediately. From a safe distance, call your gas company and 911. Do not use phones or flip switches inside, as a spark could be catastrophic. For a complete guide, read The Dangers of a Gas Leak and What You Can Do in an Emergency.
Local regulations, like the California Piping Standards, often require licensed professionals for any gas line modifications, including capping. These rules exist to prevent accidents.

Common Problems and Resolutions
Even with careful work, problems can arise. Here’s when to stop and call a professional:
- Cross-threading: If a cap is forced on at an angle, it can damage the threads. If you feel resistance when hand-tightening, stop and realign. Damaged threads will not seal properly and require a professional.
- Stripped threads: Over-tightening with a wrench can strip the threads, compromising the seal. This is not a DIY fix.
- Persistent leaks: If your soap test shows bubbles after you’ve properly installed and tightened the cap, shut off the gas and call for help. It’s not worth the risk.
- Wrong cap type or size: Never try to force a cap that doesn’t fit. It will not create a safe seal.
Why Professional Installation is the Safest Choice
While this guide explains the process, there is no substitute for professional expertise with gas lines. The stakes are too high.
- Training and Experience: Our licensed plumbers have the specialized training and real-world experience to handle gas work safely and identify potential issues.
- Code Compliance: We ensure all work complies with local and state codes, which is crucial for safety, especially in areas like Riverside and San Bernardino counties where permits may be required.
- Peace of Mind: Professional installation gives you the confidence that the job was done right and your family is safe.
Some jobs should only be handled by experts. Learn more about 5 Common Plumbing Issues That Only Certified Plumbers Can Resolve to know when DIY is not the answer.
Frequently Asked Questions about Capping Gas Lines
It’s understandable to have questions about gas line safety. Here are answers to the most common concerns we hear from homeowners.
Do I need to cap a gas line if the shut-off valve is closed?
Yes, absolutely. A shut-off valve can fail over time or be accidentally bumped open. A gas line cap provides a vital secondary layer of protection. It’s a permanent, reliable seal that won’t fail or open by mistake. In fact, many local building codes require capping unused gas lines as a mandatory safety measure.
Can I use the same type of cap for natural gas and propane?
Generally, yes. Most fittings rated for natural gas, like those made of brass and black iron, are also suitable for propane (LPG). However, it is essential to check the manufacturer’s product specifications to confirm the cap is approved for the specific type of gas you are using. When in doubt, consult a professional.
What is the difference between a gas cap and a plug?
Though the terms are often used interchangeably, they are different. A gas line cap has female (internal) threads and screws over the end of a male-threaded pipe, like a lid on a jar. A gas plug has male (external) threads and screws into a female-threaded opening, like a port on a valve. Choosing the correct one is essential for a proper fit.
Conclusion
Properly installing a gas line cap is a critical home safety task that requires precision and an understanding of the risks. We’ve covered how to choose the right parts, the correct installation process, and the absolute necessity of leak testing.
However, we must be clear: the risks associated with improper gas line work are too high to take chances. A small mistake can lead to dangerous gas leaks, creating serious health and safety hazards for your family.
For homeowners in Riverside and San Bernardino counties, professional installation is the smartest and safest choice. It ensures the work is done correctly and complies with all local building codes, giving you complete peace of mind.
When you work with the certified professionals at Top Tier Plumbing and Rooter, you get the assurance that comes from years of experience and a commitment to safety. If you have any doubts about capping a gas line or need assistance with any gas plumbing, we are here to help.
For expert assistance with all your Plumbing and Gas Repairs in Riverside and San Bernardino Counties, contact us today. Your safety is our top priority.