Understanding the Root Causes of Pipe Failures in Modern Homes
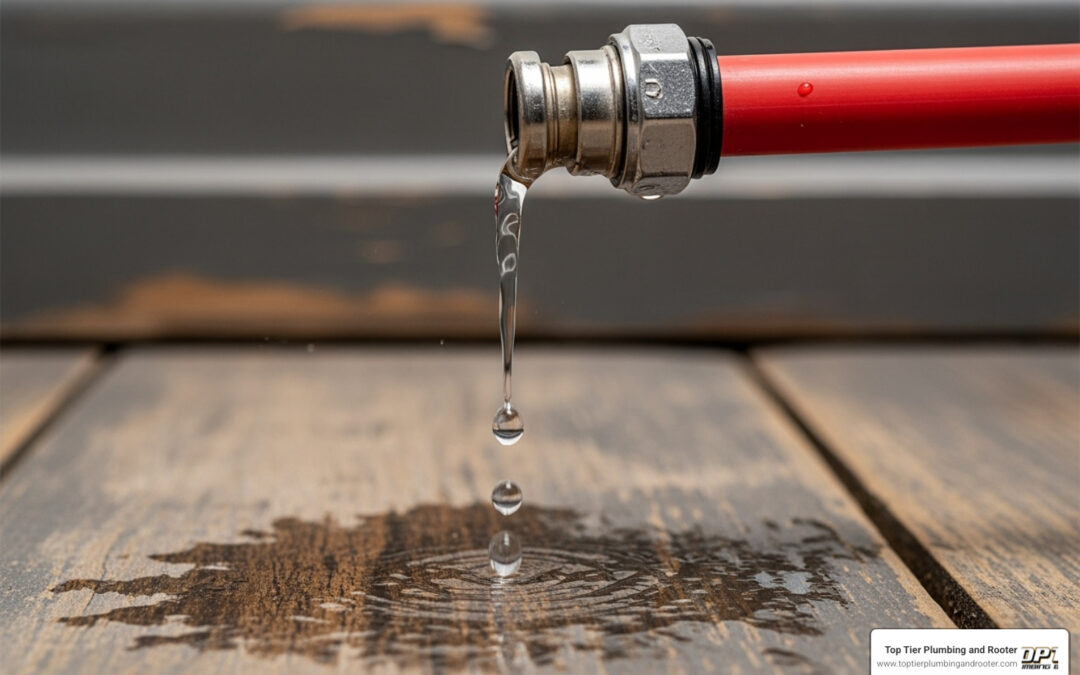
A PEX pipe leak can cause a water damage nightmare, but understanding why these leaks happen is the first step to stopping them. Most PEX pipe leaks stem from installation errors, material degradation, or physical damage.
Common causes of PEX pipe leaks:
- Installation errors – Improperly calibrated tools, incorrect crimp ring placement, or poor fitting connections
- Material degradation – Chlorine exposure, chemical incompatibility, or dezincification of brass fittings
- Physical damage – Punctures during construction, freeze damage, or rodent interference
- Fitting failures – Problems with crimp, expansion, or push-to-connect fittings
Quick identification signs:
- Water stains on walls or ceilings
- Unexplained spikes in water bills
- Musty odors or mold growth
- Sound of running water when all fixtures are off
- Pressure drops in your plumbing system
Nearly all PEX plumbing leaks occur at joints and connection points, with most stemming from incorrect installation rather than the pipe material itself. While many PEX pipe leaks can be repaired with basic tools, complex issues like slab leaks or extensive damage require professional expertise. Understanding your home’s plumbing helps you catch problems early and decide whether to tackle repairs yourself or call in the pros.
Why Do PEX Pipes Spring a Leak? Uncovering the Common Culprits
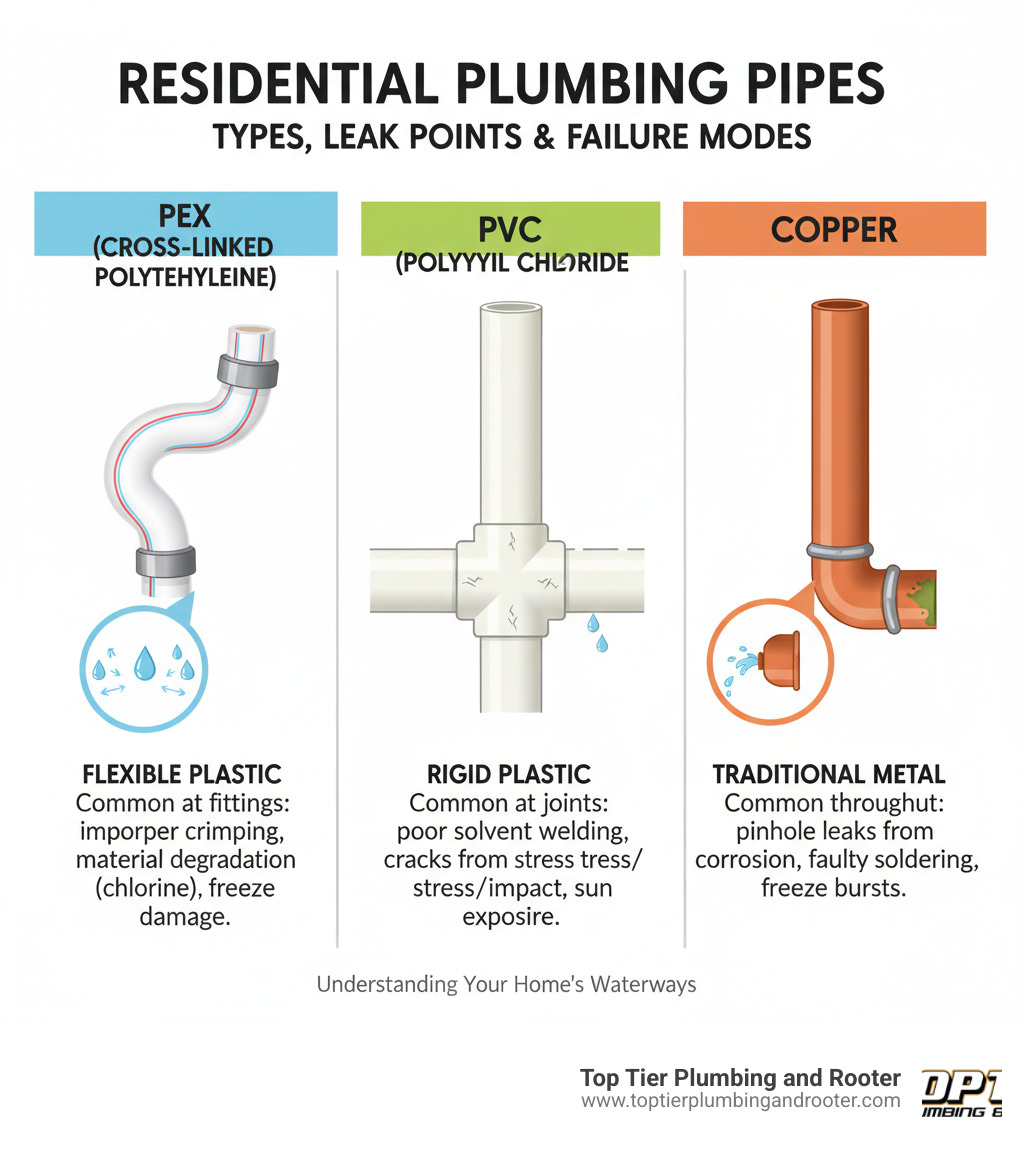
While PEX pipes are incredibly durable and flexible, they aren’t completely bulletproof. Most PEX pipe leaks don’t stem from the pipe material itself but occur at connection points, often due to installation errors. A small mistake during installation can lead to a major headache years later. Understanding these root causes helps you make informed decisions about repairs and prevention. For broader guidance, see our guide on What are the Signs of a Leaking Pipe and How to Handle It?.
Installation and Fitting Failures
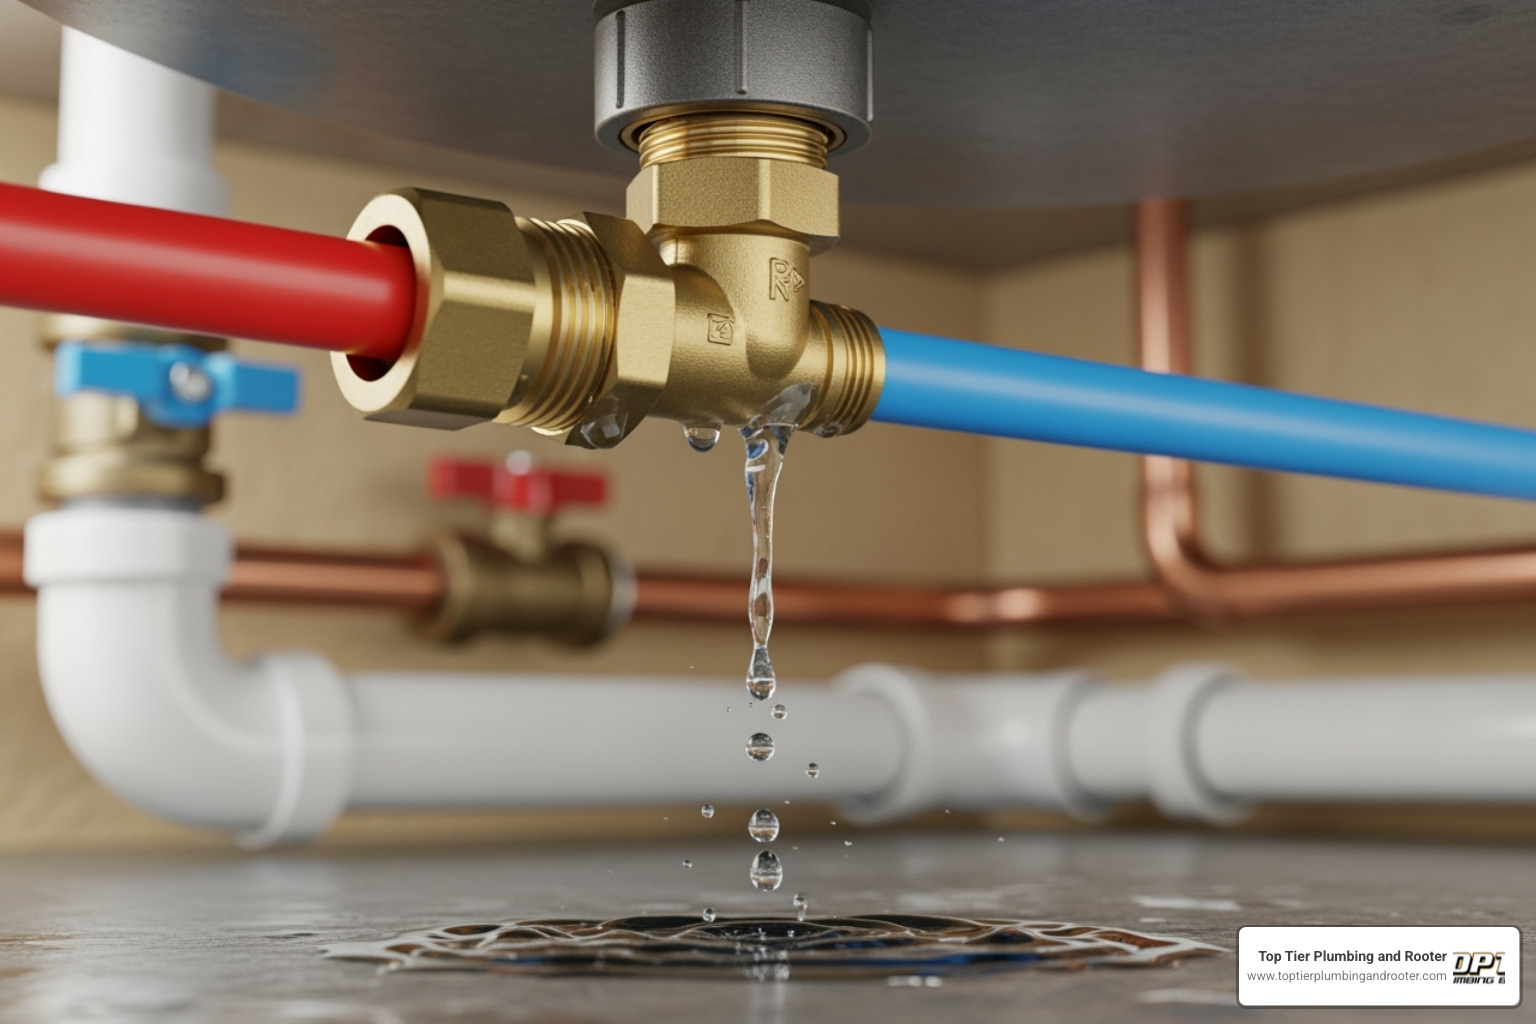
The number one cause of PEX pipe leaks is improper installation. PEX fittings require precision and the right tools, which is where many problems begin.
- Incorrect installation and tool use: Rushed or imprecise installation almost guarantees future leaks. Common mistakes include improperly positioned rings, pipes not fully inserted, or using improperly calibrated crimping tools. Professionals use Go/No-Go gauges to verify every crimp.
- Crimp fitting issues: These occur when copper or stainless steel rings aren’t positioned correctly or when the crimping tool applies incorrect pressure. Double-crimping to fix a bad connection often makes it worse.
- Expansion fitting problems: Used with PEX-A systems, these require tight tolerances. Temperature changes during installation can affect how the pipe contracts around the fitting, potentially leaving a loose connection.
- Push fitting failures: While convenient for DIY repairs, these can fail if the pipe isn’t fully inserted, the internal O-ring is damaged, or the gripper teeth lose their hold.
Historically, dezincification has plagued brass fittings, where zinc leaches out, leaving weakened copper. This led to major lawsuits involving PEX and the development of dezincification-resistant materials.
Environmental and Material Degradation
Environmental factors and water chemistry can weaken plumbing over time.
- Chlorine degradation: Chlorine in municipal water can gradually break down PEX materials. This damage is accelerated by aggressive water chemistry, UV light, high water pressure (above 80 PSI), and high temperatures (exceeding 140°F). Degraded pipes become brittle and develop pinhole leaks.
- Chemical incompatibility: Plastic PEX fittings can shatter when exposed to chemicals like acetone, found in PVC cleaners and primers. Other problematic substances include certain adhesive tapes, organic solvents, and petroleum products.
- Water quality effects: Optimal PEX performance requires a water pH at or above 6.5 and chlorine below 4.0 ppm. Water outside these parameters can shorten the system’s lifespan. Learn more in our guide on How to Prevent Pipe Corrosion and Extend the Life of Your Plumbing.
- UV light exposure: Standard PEX becomes brittle with extended UV exposure. Any outdoor installations require UV-stabilized materials or proper protection.
Physical Damage and Pipe Types
Sometimes a PEX pipe leak is simply the result of physical force or the specific type of PEX used.
- Punctures during construction: A misplaced nail or screw can easily pierce PEX lines, especially in radiant heating systems embedded in concrete.
- Freezing temperatures: While PEX has good freeze resistance, sustained freezing can cause ruptures from pressure expansion.
- Type of PEX: PEX-A is the most flexible, ideal for expansion fittings. PEX-B offers better chlorine resistance and is often considered more durable. PEX-C is the stiffest and has the lowest chlorine resistance, with some brands facing lawsuits for premature failure.
- Rodent damage: Mice or rats can chew through exposed PEX pipes in attics, crawl spaces, or basements.
Leak Detective: How to Identify a PEX Pipe Leak in Your Home
Think you have a PEX pipe leak? Finding a leak in PEX plumbing can be tricky since pipes are often hidden, but every leak leaves clues. Sometimes a leak is an obvious puddle, but more often it starts with subtle signs. Knowing what to look for makes identifying a leak much easier before water damage escalates. For a comprehensive look at spotting problems early, see our guide on Signs You Need a Plumbing Inspection: How to Spot Hidden Issues Before They Escalate.
Obvious and Hidden Signs of a Water Leak
Learning to spot both obvious and hidden leaks can save you thousands in repairs.
- Water stains: Look for yellowish, brownish, or dark spots on ceilings, walls, or floors. Don’t ignore small stains, as they tend to grow.
- Puddles: Check under sinks, around water heaters, and in basements for unexplained moisture. Water can travel, so the puddle’s location may not be the leak’s source.
- Musty or mildew smell: A persistent musty odor often signals hidden moisture and mold growth from a long-standing leak behind walls or under flooring.
- Peeling paint or warped surfaces: Water seeping into surfaces causes paint to bubble or peel, wallpaper to lift, floors to warp or buckle, and drywall to soften or bulge.
- Unexplained spike in your water bill: If your usage habits haven’t changed but your bill has jumped, you likely have a leak.
- Sound of running water: If you hear dripping or running water when all faucets and appliances are off, your pipes are signaling a problem.
Using Pressure to Confirm a PEX Pipe Leak
When visual clues aren’t enough, pressure testing can confirm a leak, especially for closed-loop PEX installations like radiant heating.
- Pressure gauge monitoring: A consistent drop in PSI on your system’s pressure gauge when no water is being used strongly indicates a leak. For radiant floor systems, a pressure drop of more than 5 PSI is a red flag.
- Closed-loop systems: These systems allow you to isolate and test individual circuits, making it easier to pinpoint a leak. The process involves pressurizing the PEX piping with air and monitoring for pressure drops.
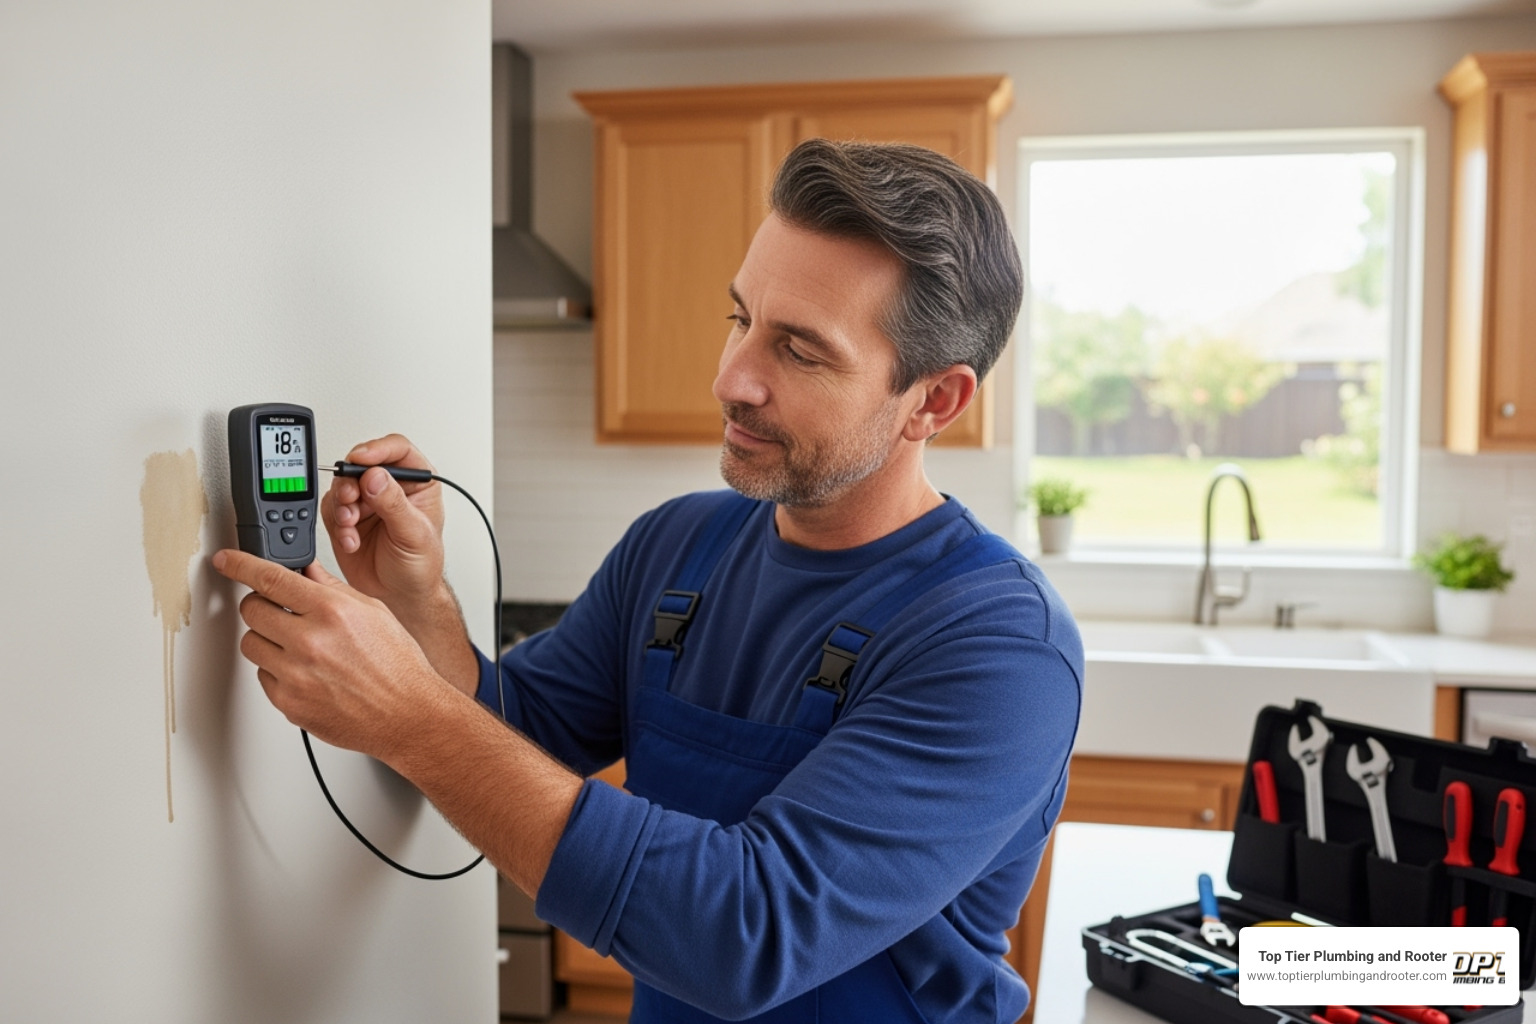
- Moisture meters: Professional plumbers use these handheld devices to detect moisture levels in building materials. They help find hidden leaks behind walls or under floors without demolition, pinpointing the exact location of a PEX pipe leak.
Your DIY Toolkit: Preparing for a PEX Pipe Repair
For smaller leaks, a hands-on repair can be satisfying and save money. Having the right tools from the start makes the difference between a smooth repair and a frustrating one. Let’s gather everything you’ll need for a typical crimp-method repair.
Essential tools for your PEX repair mission:
- PEX cutter: Crucial for making the clean, straight cuts required for a watertight seal.
- Crimping tool: This specialized tool compresses the metal rings to create the seal. Ensure it matches your pipe size.
- Go/No-Go gauge: A vital quality control tool to verify your crimp is secure—not too loose or too tight.
- Adjustable wrench: Useful for any threaded connections you might encounter.
Materials you’ll need to complete the job:
- PEX pipe: Fresh pipe in the correct diameter to replace the damaged section.
- PEX fittings: Couplings, elbows, or tees to reconnect your pipe sections.
- PEX crimp rings: Metal rings that are compressed to create the seal. Ensure they match your pipe diameter.
- Teflon tape: Also called plumber’s tape, used to seal threaded joints.
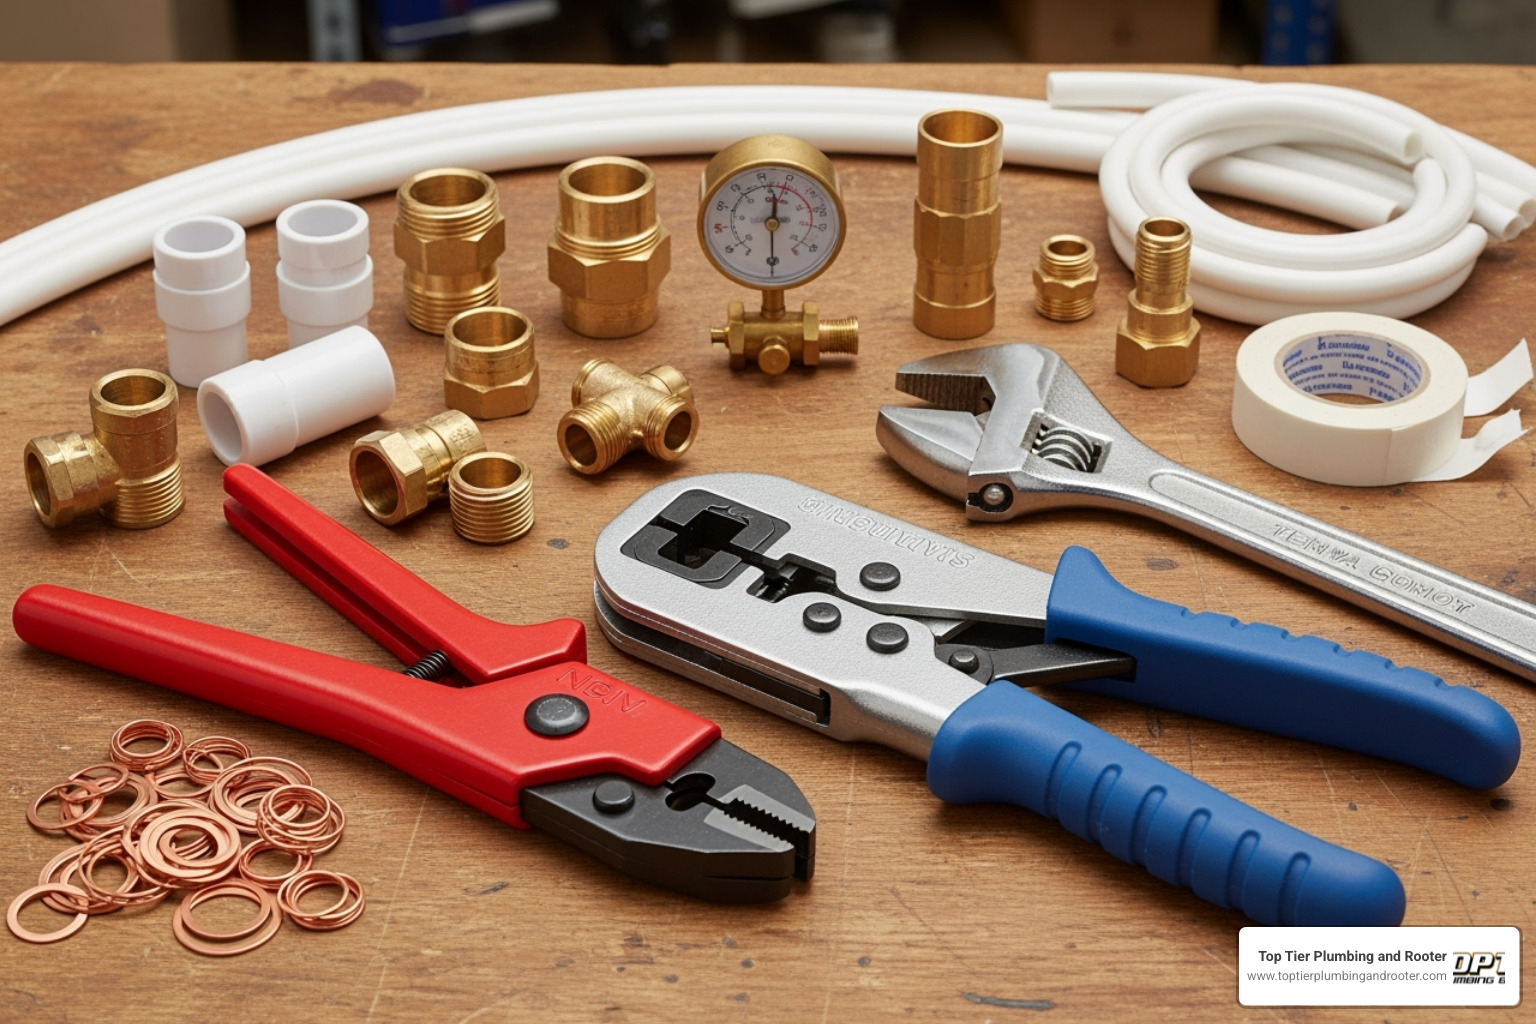
Once you’ve assembled your toolkit, familiarize yourself with each item, especially the crimping tool and Go/No-Go gauge. Preparation is half the battle, and having your tools ready will give you the confidence to fix your PEX pipe leak.
How to Fix a PEX Pipe Leak: A Step-by-Step Guide
For smaller leaks, a DIY repair can be surprisingly straightforward. The fix often involves cutting out the bad section and installing a fresh coupling. Remember the golden rule: safety first! Always shut off the water before you start cutting. If the leak seems complex, don’t hesitate to consult our guide on Help! There’s a Leak in My House and I Don’t Know What to Do.
Repairing a Standard Leak with the Crimp Method
The crimp method is a reliable approach for most PEX pipe leak repairs. Here’s how to do it right:
- Turn off the water supply at the main shut-off valve.
- Drain the system by opening the lowest faucet in your home to relieve pressure and empty the pipes.
- Cut out the damaged section using your PEX cutter. Make clean, straight cuts on both sides of the leak, removing all compromised pipe.
- Slide crimp rings onto each of the cut pipe ends.
- Insert your coupling fitting firmly into each pipe end until it hits the internal stop.
- Position the crimp ring about 1/8 inch from the pipe end and place your crimping tool’s jaws around it.
- Crimp the connection by squeezing the tool handles completely until they click or meet. Repeat for all connections.
- Use your Go/No-Go gauge to verify each crimp. The “Go” side should slide over the ring, but the “No-Go” side should not.
- Test your repair by slowly turning the water back on. Check all connections for drips. Open a faucet to bleed air from the system, then do a final inspection.
Special Case: Fixing a Punctured PEX Pipe in Concrete
A punctured PEX pipe in a concrete slab, common in radiant floor heating, is repairable but requires more work.
- Locate the puncture. After pressure testing, you may need thermal imaging or acoustic equipment to find the exact spot. Sometimes a wet spot on the concrete gives it away.
- Remove the concrete carefully in a 4 to 8-inch area around the damage. Work slowly to avoid causing more damage to the pipe.
- Cut out the damaged tubing (about half an inch) with your PEX cutter to ensure you have clean ends.
- Install a repair coupling using the same crimp method described above: slide on rings, insert the fitting, crimp, and test with the Go/No-Go gauge.
- Protect your repair by wrapping the coupling with self-fusing tape (fire tape) to create a waterproof barrier.
- Patch the concrete, smoothing it to match the surrounding slab, and allow it to cure before using the system.
Patience and attention to detail are key to any successful PEX pipe leak repair.
Prevention and Professional Help
While DIY repairs are possible, sometimes a PEX pipe leak is a job for the pros. First, let’s discuss prevention, which is always the best strategy. For more on why expertise matters, read The Benefits of Professional Plumbing Services: Why Expertise Matters.
Best Practices for Preventing PEX Leaks
A little care upfront can prevent most PEX problems.
- Proper installation: Most leaks happen at joints due to installation mistakes. Always use calibrated tools, ensure fittings and rings are positioned correctly, and follow manufacturer guidelines.
- Protect pipes from punctures: During construction or renovation, be aware of where PEX lines are located, especially in concrete slabs. Pressurize radiant PEX systems with air during concrete pours to detect and prevent damage.
- Manage water quality: Test your water regularly. High chlorine levels (above 4.0 ppm) or low pH can degrade PEX pipes and fittings. A whole-house water filter can protect your plumbing.
- Insulate pipes: While PEX is freeze-resistant, it’s not invincible. Insulate pipes in unheated areas like crawl spaces and attics. Bury underground PEX below the frost line.
- Allow for expansion and contraction: PEX moves with temperature changes. During installation, allow some slack and use clamps that permit movement.
- Provide UV protection: Keep PEX away from direct sunlight. If it must be exposed outdoors, use UV-stabilized pipe or protective coverings.
- Flush new systems: When a new PEX system is installed, flush it thoroughly for several days to reduce initial chemical leaching and improve water quality.
When to Skip the DIY and Call a Plumber
Knowing your limits can prevent a manageable problem from becoming a disaster.
- Extensive damage: If you have multiple leaks, a large rupture, or widespread pipe degradation, a simple patch won’t solve the underlying issue. This may require a professional repipe.
- Hidden leaks: Leaks behind walls or under concrete slabs require specialized equipment like thermal cameras and acoustic detectors to locate without major demolition.
- Structural complications: If a leak has caused significant wood rot, foundation issues, or is affecting electrical systems, you need a professional assessment.
- Unfamiliarity with PEX systems: If you’re unsure about PEX types, fittings, or how to use the tools, it’s safer to call a professional. An improper repair can cause more damage.
- Lack of tools or time: Plumbing emergencies are stressful. If you don’t have the equipment or time, that’s what we’re here for.
When facing complex challenges, it’s crucial to understand The Hidden Dangers of DIY Plumbing: Why You Should Hire a Professional. Our team in Riverside and San Bernardino counties has the experience and tools to do the job right.
Frequently Asked Questions about PEX Pipe Leaks
Homeowners often have questions about PEX pipe leaks. Here are answers to the most common ones, based on our experience in Riverside and San Bernardino counties.
What are the main differences between PEX-A, PEX-B, and PEX-C tubing?
The letters refer to the manufacturing process, which affects flexibility, fitting type, and chemical resistance. You can find more detail in resources like Problems with PEX pipe and how to prevent and fix them.
- PEX-A: The most flexible, with excellent “shape memory” that makes it ideal for expansion-style fittings. It shrinks back for a tight seal.
- PEX-B: A middle ground in flexibility, it offers better resistance to chlorine breakdown and is considered highly reliable. It typically uses crimp or clamp fittings.
- PEX-C: The stiffest of the three, with lower chlorine resistance. Some brands have faced issues with premature cracking.
While all are viable, their properties can influence the likelihood of a PEX pipe leak over time.
Can I use epoxy or a clamp for a temporary PEX pipe repair?
Yes, for a tiny pinhole leak or hairline crack, epoxy putty or a pipe repair clamp can provide a temporary fix to stop a drip and buy you time. However, these are band-aid solutions. PEX pipe expands and contracts with temperature changes, and that patch will eventually fail under constant water pressure. For a permanent, reliable solution, you must replace the damaged section with new PEX pipe and proper fittings.
How does water quality affect my PEX plumbing?
Water quality plays a huge role in your PEX system’s lifespan and its vulnerability to PEX pipe leaks. For more on this, see Why PEX Fittings Leak and How to Identify the Cause.
- Chlorine: Chlorine or chloramines in city water slowly degrade PEX. This process accelerates with hot water (above 140°F) or high pressure (above 80 PSI), leading to brittle pipes and pinhole leaks.
- pH Balance: Acidic water (low pH) is aggressive toward both PEX pipes and brass fittings. A neutral pH of 6.5 or higher is ideal.
- Dezincification: Aggressive water can leach zinc from brass fittings, leaving them weak and brittle. Newer fittings are often resistant, but older systems may be vulnerable.
Water testing can identify these issues. If your water is outside the ideal ranges, a whole-house water filter can protect your PEX system and extend its life.
Conclusion
Dealing with a PEX pipe leak doesn’t have to be a panic-inducing event. By understanding the causes, spotting the signs, and knowing how to perform a basic repair, you can handle many common PEX problems with confidence. The flexibility and durability of PEX make it a reliable choice for modern plumbing, especially when properly installed and maintained.
Prevention is your best strategy. Proper installation, protection from damage, and good water quality management will keep most leaks at bay. However, some situations require professional expertise. For extensive damage, hidden leaks, or complex slab repairs, it’s time to call in the experts. Knowing your limits is key to preventing a small issue from becoming a major water damage event.
At Top Tier Plumbing and Rooter, we’ve seen every type of PEX pipe leak. Our experienced team serves Riverside and San Bernardino counties with the specialized tools and knowledge to diagnose and repair any leak, 24/7. We guarantee our work is done right the first time.
Don’t let a leak disrupt your home. For expert pipe leak repairs, contact us today!


